- November 24, 2025
- Main Dishes
Food Processor Pie Crust Recipe
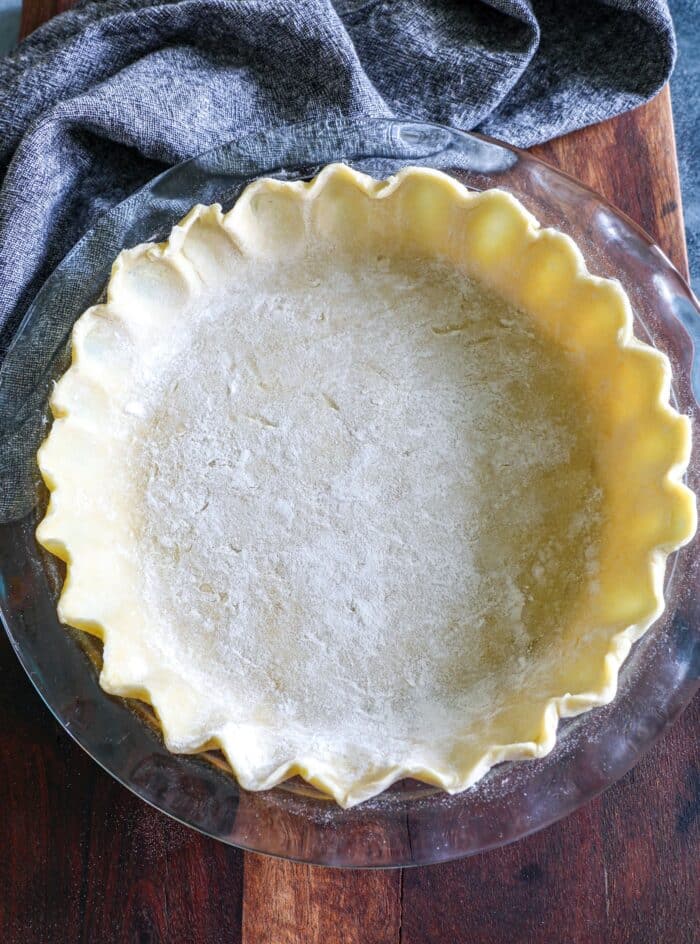
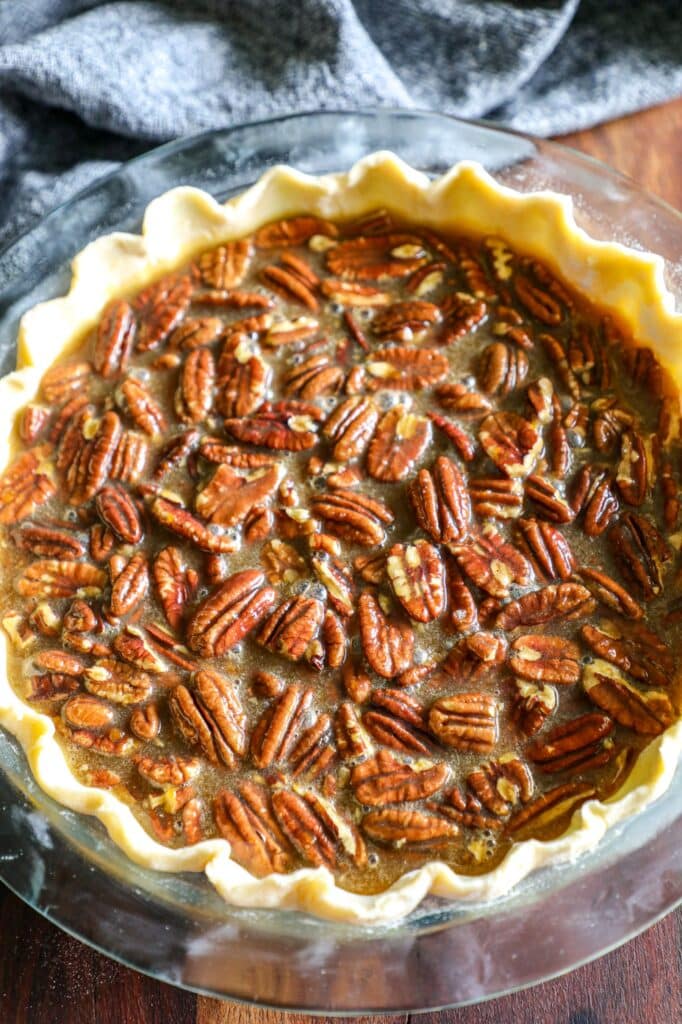
This Food Processor Pie Crust Recipe delivers a perfectly flaky, buttery crust with almost zero effort, thanks to quick pulses that keep the ingredients ice cold. It’s an easy, foolproof method that gives you consistently tender results every time and works for both sweet and savory pies.
A Flaky, Foolproof Homemade Pie Crust Recipe
A great pie starts with a great pie crust, and nothing makes the process easier or more consistent than using a food processor pie crust method. If you’ve ever struggled with cutting cold butter into flour by hand or worried about adding too much water, this technique is going to change the game for you. With the push of a button, you get a perfectly mixed flour mixture, beautiful pea-sized pieces of cold butter, and a tender, flaky crust every single time.
As a culinary teacher, I love showing home cooks how to simplify classic techniques without sacrificing flavor or texture. This is the same approach I use when teaching students how to build flaky layers, manage gluten development, and understand the structure of the dough. Once you learn this method, you’ll never go back to wrestling with your pastry cutter or worrying about whether you’re creating too much gluten. The whole process becomes approachable, consistent, and actually fun.
Whether you’re making apple pie, pumpkin pie, a double-crust pie, or even savory pies (think: chicken pot pie), this food processor technique guarantees success. Let’s walk through why it works so well, what you need, and how to turn simple ingredients into a perfect pie crust that would make even Martha Stewart proud.
Why This Food Processor Pie Crust Works
There are plenty of ways to make a homemade pie crust recipe, but using a food processor gives you the most control with the least amount of effort. Here’s why this technique makes the best pie crust every single time:
1. The butter stays cold
Cold butter is the heart of a buttery crust. The food processor blends the butter quickly so it doesn’t warm up from your hands or the room temperature in your kitchen. The result? Flakiness that rivals any bakery crust.
2. Perfect texture with zero guesswork
Instead of fighting with a pastry blender or pastry cutter, the processor creates even, coarse crumbs in seconds. Those pea-sized pieces of butter are exactly what form steam pockets, which become those gorgeous flaky layers.
3. Less water, less gluten, more tenderness
The processor mixes the dough efficiently, so you don’t need much water to bring it together. Using too much water is what often leads to a tough crust, but here you only add what the dough truly needs.
4. Consistency for every skill level
Whether it’s your first time making pie crust or your hundredth, this method removes guesswork and gives you the same result every single time. This gives you a recipe that’s both reliable and easily repeatable!
Food Processor Pie Crust Ingredients
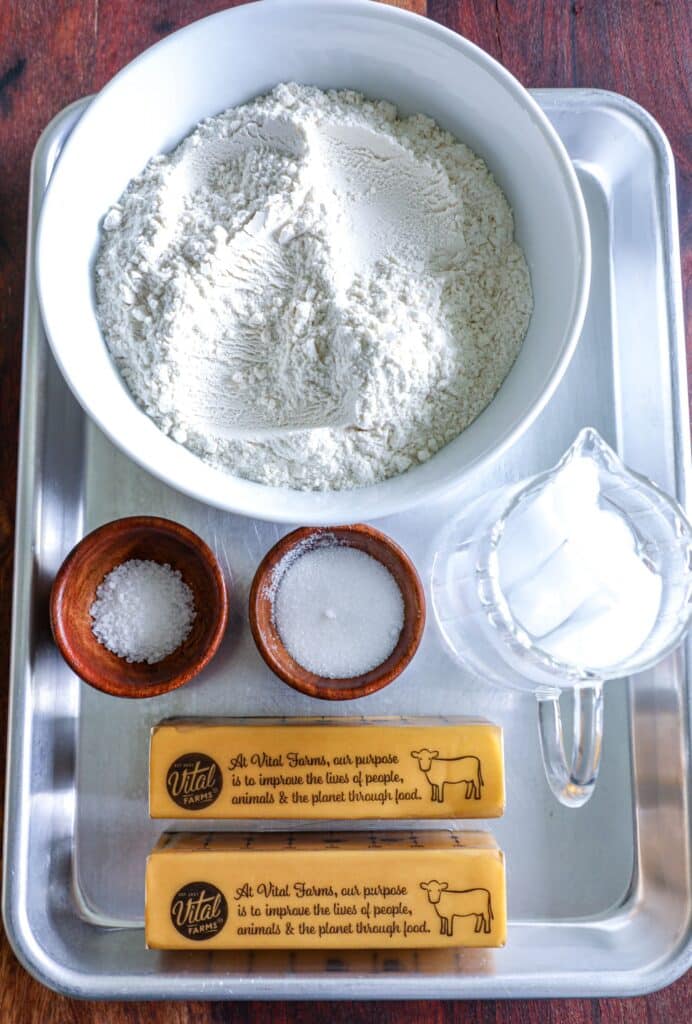
These simple pie crust ingredients come together quickly, and each one plays a role in the structure and flavor department. You only need a handful of pantry staples and a few tools you likely already have.
For the Crust
- All-purpose flour (sometimes labeled purpose flour)
This creates the base structure of the dough without making it too dense. - Kosher salt or table salt
Enhances flavor with even distribution. - Granulated sugar
Optional, but adds subtle sweetness and helps the crust brown. - Cold unsalted butter
A classic combination of butter and flour creates the flavorful, delicious crust everyone loves. - Ice water or ice-cold water
Helps the dough come together without warming the butter. A little water goes a long way.
Tools You’ll Need
- Food processor (the bowl of your food processor must be dry)
- Rubber spatula
- Plastic wrap
- Mixing bowl or large bowl
- Lightly floured rolling pin
- Rolling work surface
- 9-inch pie dish or pie plate
- Parchment paper and pie weights
These tools make the whole process from dough rest to blind baking incredibly simple.
How to Make Pie Crust in a Food Processor
This is the heart of the tutorial and the #1 search phrase for this recipe. Follow these steps for a smooth, stress-free method that produces a good pie crust every single time.
Step 1: Make the Dough
- Add the dry ingredients (flour, salt, sugar) to the bowl of a food processor. Pulse 2–3 times to mix everything.
- Add the cubes of cold butter and pulse 8–10 times until you see coarse crumbs with visible pea-sized pieces.
- With the machine running, drizzle in 6 tablespoons of ice water through the feed tube. If the dough seems dry, add a little bit of extra water so it’s just enough to help it clump together.
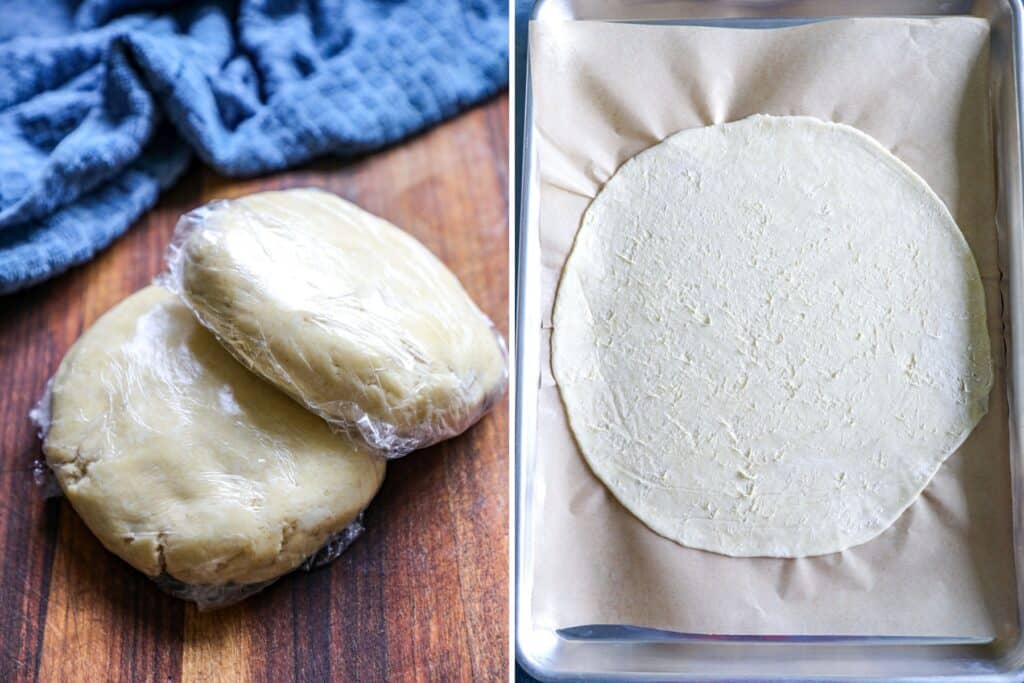
- Pour the mixture onto your work surface, gently press it into a ball of dough, divide the dough into two portions, and shape each into a disk.
- Wrap both disks tightly in plastic wrap. Let the dough rest in the fridge for at least an hour to hydrate and relax the gluten, or for up to two days in advance.

Step 2: Roll Out the Dough
- On a lightly floured surface, roll one disk into a 12-inch round.
- Transfer it to a 9-inch pie dish and gently press into the edge of the pan using your index finger.
- Trim overhanging dough with a knife or kitchen scissors. Save the excess dough for patching or decorative touches.
- Chill the crust for 20–30 minutes to prevent shrinking during baking.
This same dough can be used as the bottom crust, top crust, or cut into strips for a beautiful lattice pie crust.
How to Blind Bake a Pie Crust
Blind baking (or par-baking) is essential for pies with no-bake fillings or pies where you want a crisp bottom. This includes cream pies, custards, and sometimes fruit pies, where you want to avoid a soggy bottom of the crust.
To Par-Bake (Partially Bake)
- Preheat to 425°F.
- Line the cold, unbaked crust with parchment paper and fill with pie weights.
- Bake 12–13 minutes.
- Remove weights and bake another 5–7 minutes until the crust looks matte but not browned.
To Fully Blind-Bake
- Preheat to 425°F.
- Add parchment and weights as above.
- Bake 15 minutes.
- Remove parchment and weights; bake another 12–15 minutes until golden brown.
- Cool completely before filling.
A fully baked pie crust is ideal for chilled pies like chocolate cream, banana cream, or a beggar’s purse-style savory filling.
Tips for a Flaky, Foolproof Pie Crust
These troubleshooting tips help any baker avoid a tough crust and guarantee a tender, buttery crust every time.
- Keep everything cold. Warm butter leads to dense dough.
- Stop processing early. The dough should look shaggy; overmixing develops too much gluten.
- Add only as much water as needed. A little goes a long way; too much water toughens the dough.
- Chill before baking. A chilled crust holds its shape and creates better flakiness.
- Patch with extra dough, not water. Water melts the fat layers.
- Use a tea towel under your rolling board to prevent slipping.
- Quarter-turn your dough as you roll to keep the circle even.
These simple habits make a huge impact on the final result and help you master the texture of a tender pie crust.
Make-Ahead, Storage, and Freezing Instructions
One of the best parts of this simple recipe is how well it fits into prep-ahead holiday cooking.
Storing Pie Dough
- Wrap each disk tightly in plastic wrap and store in the refrigerator up to 2 days.
- Let the dough warm slightly at room temperature before rolling. It shouldn’t be soft, but just flexible enough to roll without cracking.
Freezing
- Freeze disks up to 3 months in plastic wrap + freezer bag.
- Thaw overnight in the refrigerator.
Storing a Baked Crust
- A fully baked pie crust can be stored for 2 days wrapped at room temperature.
- Avoid refrigerating a baked crust unless filled; it dries out.

Food Processor Pie Crust FAQ
You may not have added enough water. Add 1 teaspoon at a time until the dough clumps together.
Yes, but shortening has a lower melting point and creates less flavor. A combination of butter and a little vegetable shortening can make the dough extra tender.
Most likely, too much water or over-processing in the food processor.
It’s too cold; let it sit at room temperature for a few minutes.
Everything — double crust pies, single-crust pie recipes, lattice pies, and savory options like chicken pot pie.
More Recipes To Try
Broccoli Cheddar Chicken Pot Pie

Food Processor Pie Crust Recipe
Equipment
- Food Processor
Ingredients
- 2.5 cups All-purpose Flour
- 1 tsp Kosher Salt
- 1 tbsp Granulated Sugar optional
- 1 cup Cold Butter cubed
- 6-8 tbsp Ice Water
Instructions
Make the Dough
- Add flour, salt, and sugar to the bowl of a food processor. Pulse 2–3 times.
- Add cold butter and pulse 8–10 times until coarse crumbs form with pea-sized pieces.
- Add 6 tablespoons ice water while the machine runs; pulse until the dough begins to clump. Add extra water only if needed.
- Turn onto a lightly floured work surface, gather into a ball of dough, divide dough in half, and shape into two disks.
- Wrap in plastic wrap and chill at least 1 hour or up to 2 days.
Roll Out the Dough
- Roll one disk into a 12-inch circle on a lightly floured surface. Transfer to a 9-inch pie dish and trim excess dough. Chill again for 20–30 minutes before filling or baking.
Baking Instructions
- To Par-Bake: Preheat oven to 425°F. Line the crust with parchment and fill with pie weights or dried beans. Bake 12–13 minutes. Remove parchment and weights; bake 5–7 minutes more.
- To Fully Blind-Bake: Preheat oven to 425°F. Add parchment and the pie weights or dried beans; bake 15 minutes. Remove weights and bake 12–15 minutes until golden brown. Cool completely before filling.


